VR
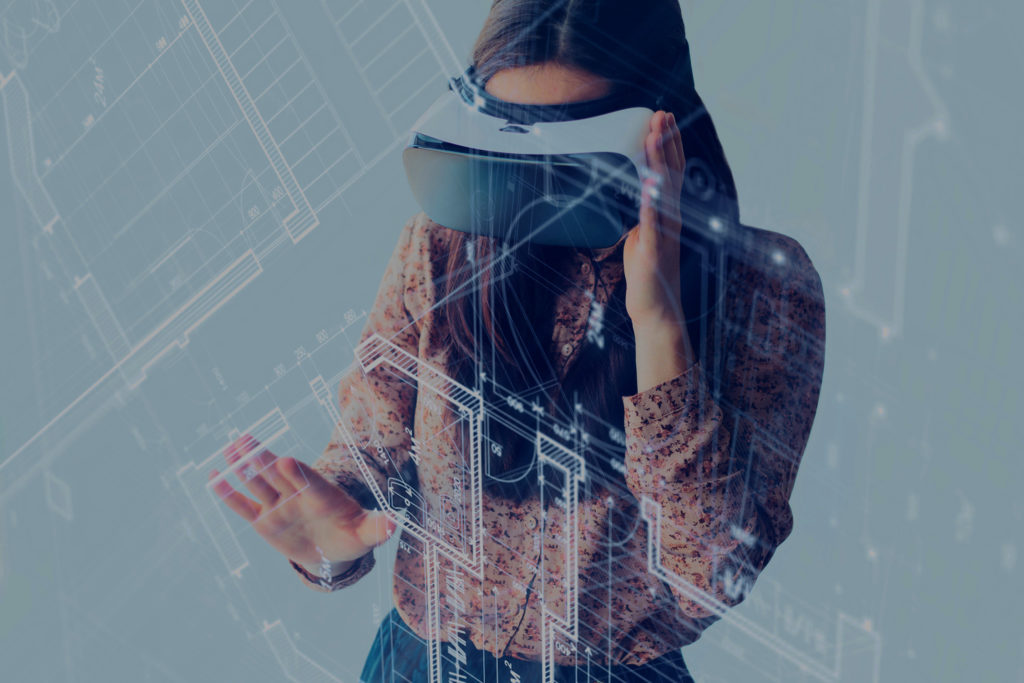
VIRTUAL REALITY or REALITY EMULATION describes the computer-generated environment in three-dimensional view that are interactive with the users
WHY VR IN ECOMMERCE
So far, VR has been bumped only into the world of games but as the retailers look forward in giving their customers a hypnotic experience, VR takes the next step in transforming the digital world. VR will transform the circumstances of how we shop online .it enables the shoppers to open the website and explore themselves into it. Imagine having no text, no click in the webpage, you can select the department or product by just gazing at the list or by asking what you want through your speech !!!,,
SO YES, HERE’S WHAT WE ARE BUILDING
Ultimately, shoppers pop onto the website for viewing the products. Bringing in the concept of virtuality at the product description page (PDP) is the key for possession. Taking this as an instance, I will show you on how this can be implemented using a-frame.js .
I’ll outline the steps I took to get here,
What’s A-FRAME .JS?
A-FRAME.JS a web framework for building VR experiences. This is an easy and powerful way to develop VR. A-frame can be developed from the plain HTML by just adding “a-frame” in the head tag and creating that as an “.html” file and open it through the browser without installing any additional apps. A-frame has many core components like geometries materials, lights, animations, models, ray casters, positional, audios, videos, test, control, etc. Its main aim is to define a fully dynamic interactive VR experiences making full use of the positioning and controllers.
What do you require?
Images for your product in all directions, the hover, the logo, 360-degree background and the information pops.
STEPS:
TAGS
Head
The line is the head tag, it’s the container to hold all the title elements, scripts, styles. Etc …According to our need we can add on the components of the a-frame in the head tag.
<head>

    <title>American Eagle</title>

    <script src="js/aframe.min.js"></script>

    <script src="js/aframe-gif-shader.min.js"></script>

    <script src="js/aframe-gif-component.min.js"></script>

    <link rel="icon" href="img/ae.png" type="image" sizes="16x16">

</head>
Body
Scene
a-scene is the component which is inherited from the entity class thus enabling us to attach all its child components like a-assets and a-entity. a-scene greatly helps us in handling the webVR and Three-js
Assets
A-frame enables us to add assets (i.e., images, videos, sound files ,3D models and materials) .and manage them in one place, where we preload it and add cache of the assets for having a better efficiency. These assets can be assigned a name as ID. The assets that are to be loaded for the entire sessions like the initialization images, product images and the hover images are added on in the asset.
  <a-assets>

        	<!-- IMAGE INITIALIZATION -->

            <img id="logo" src="img/logo.png">

            <img id="bg" src="img/image.jpg">

            <img id="aelogo" src="img/ae.png">

            <img id="productimg" src="img/product.jpg">

            <img id="allviews" src="img/allpants.jpeg">

            <img id="animated" src="img/ae_animated.gif">

            <!-- THE HOVER IMAGES -->

            <img id="productHeaderImage" src="img/productHeaderImage.png">

            <img id="availableSizes" src="img/available_sizes_home.png">

            <img id="theDetails" src="img/the_details_home.png">

            <img id="sizeChart" src="img/size_chart_home.png">

            </a-assets>
Background
The background of our product display page must enable us to give in the virtual effects. For attaining this we can use the
<a-sky src="">

</a-sky>
Entity
a-entity component provides extra events and it handles the hand animations and poses. It defaults the geometry primitive property to the box and maps the HTML width attribute and colour attribute along with few more components like material, position, scale, visible, etc.
True: The entity will be visible;
False: The entity will not be visible but will still exist in the scene
<a-entity geometry="primitive:plane;segment:4;width:1.5;height:2;" scale="7 7 7" position="-8 0 -10" material="shader:gif;src:url(img/ae_animated.gif);" gif="" visible="false"></a-entity>
Images
a-image tag helps the images to be positioned flat on to the background. To custom the images we can add the attributes like colour, material, position, scaling, etc. The hover images, the product’s images and the information images are displayed using this tag
<a-image id="productimage" src="#productimg" width="1.5" height="2" position="-8 0 -10" scale="7 7 7"></a-image>

<a-image id="productHeaderImage" src="#productHeaderImage" width="16" height="6" position="5 4 -8" scale="0.5 0.5 0.5"></a-image>

<!-- HOVER IMAGES -->

<a-image id="availableSizesHome" src="#availableSizes" width="4" height="4" position="-1 1.5 -8" scale="0.5 0.5 0.5"></a-image>

<a-image id="sizeChartHome" src="#sizeChart" width="4" height="4" position="-1 4.5 -8" scale="0.5 0.5 0.5"></a-image>

<!-- INFORMATION IMAGES -->

<a-image class="infoImages" id="size" src="img/Available_Sizes.png" width="12" height="15" position="4.6 1 -7" scale="0.5 0.5 0.5" visible="false"></a-image>

<a-image class="infoImages" id="chart" visible="false" src="img/size_chart.png" width="12" height="15" position="4.6 1 -7" scale="0.5 0.5 0.5"></a-image>
The virtual cursor
The a- camera is used to determines what the user sees .the viewport can be changed by modifying the camera entity’s position or rotation.
 <a-camera position="0.5 0 0">

 <a-cursor color="#ccc">

 </a-camera>
SCRIPTS
Query selector
Query Selector() is used to match any specified ID or CLASS from the tags .
Syntax:
Element = document. querySelect (Selector);
Where the, Element is the element object and the selector is any ID or CLASS. The ID can be accessed by adding a prefix of “#” while the CLASS is accessed by using a prefix of ” . “.
var allInfoImages = document.querySelectorAll('.infoImages');

var allSize = document.querySelector('#availableSizesHome');

var sizeChart = document.querySelector('#sizeChartHome');
Event handler
Event handlers can be attached to the specified elements, so that the element performs its action only when its pertained event happens. there are lots of event handlers available, here we are using only the Mouse Enter and Mouse Leave.
 // SHOW OR HIDE ALL AVAILABLE SIZES

 allSize.addEventListener("mouseenter", function() {

        	showHideImages("size",true);

  });

 allSize.addEventListener("mouseleave", function() {

        	showHideImages("size",false);

  });
Show/hide
When the event is hold , the information image must pop in ,this is handled with care in this function. Only one information image must be popped at any instance . For this, each time an event is hold at the hover image, all the information image’s visibility is set FALSE while only the respective hover image’s information image is set TRUE.
function showHideImages(imageId,visibility){

        	//console.log("Working on "+imageId);

        	//console.log(allInfoImages.length-1);

        	if(visibility==true){

        		for(i=0;i<=allInfoImages.length-1;i++){	// HIDE ALL THE IMAGES AND SHOW ONLY THE CURRENT

        			allInfoImages[i].setAttribute("visible",false);

        		}


        	}

        	 var imageObject = document.querySelector("#"+imageId);

        	 imageObject.setAttribute("visible", visibility);

        }
Product
Virtual reality over the product is the key requirement . Customers can just turn the image’s focus in any direction with the virtual cursor so as to enable a better shopping experience by knowing more on the product’s look .
For this instance, let’s use the animation component. If the virtual cursor is over the dimension of the product then the picture must rotate and when the mouse is away from the product the animation must be paused.
 var sceneEl = document.querySelector('#productimage');

        sceneEl.addEventListener('mouseenter', function(e) {

        	 startAnimation();

        });

        sceneEl.addEventListener('mouseleave', function(e) {

        	stopAnimation();

        });
Animation start
Lets take up a series of images of the product in all different directions, say about 15 images . Now when the cursor is on the dimension of the product image , the series of the images are displayed – which makes the product to appear in a rotating manner . When the cursor is moved away , the rotation is paused and it resumes when the cursor is bought back .The series of images are displayed in an order from 1 to 15 , when it reaches the 15th image it starts again from 1st . Its like a cyclic process .Each image in the series are displayed with the time interval in 100 MS .
function startAnimation() {

           // console.log("Started");

            animationInterval = setInterval(function() {

                document.querySelector('#productimage').setAttribute("src", "sprite/row-1-col-" + i + ".jpg");

                if (i > 15) {

                    i = 0;

                }


                i++;

            }, 100);

        }
Animation stop
When the virtual cursor is out of the product image, the image series must be paused i.e., The image must remain in static view at that instance.
function stopAnimation() {

            //sceneEl.querySelector('#productimage').setAttribute("src","sprite/row-1-col-"+i+".jpg");

            clearInterval(animationInterval);

        }
Speech recognition
Now adding essence to our virtuality, what if we just talk to the device and get our answer (like ask for the attribute of the hover image and its respective information image pops on)
Voice to text
Now when we talk to the device, the device must read the speech, process and then covert it to a text. we will require these function
var msg = new SpeechSynthesisUtterance();

var voices = window.speechSynthesis.getVoices();

var recognition = new webkitSpeechRecognition();
Events
The converted text is taken in as individual events. These events are mapped such that the respective information images pop on when called.
recognition.onresult = function(event) {

var text = "";

  for (var i = event.resultIndex; i < event.results.length; ++i) { // GET THE TEXT FROM THE VOICE

                text += event.results[i][0].transcript;

            }

 // TO SOLVE THE TEXT RECOGNITION

            if(text.includes("size chart")){

            	text="chart";

            }else if(text.includes("available sizes")){

            	text="size";
Each time an event is hold and the process is done, the recognition must again re-start immediately. So that no input from the customer is missed. Sometimes the wrong input can also be given by the user, so we must prompt the user to move forward in the right direction by handling all the errors.
recognition.onend = function(event) {

            recognition.start();

        }


        recognition.onerror = function(event) {

        	//console.log("ISSUE "+event.error);

        }

        recognition.start();
Whooooww!!!…so yes, we have completely converted a normal product descriptive page into a web-based virtual reality with voice enabled . The entire code is available in our GitHub account.


